A potionful of DIYS to get you in the spooky spirit
Ashley Kister brings you fun, cheap, and easy Halloween DIYS
October 30, 2016
Halloween is among us, and with it, the excuse to become a potions expert. Whether looking to decorate without breaking the bank or excited to brew up a collection of potions for magical purposes, this DIY (Do It Yourself) serves as an inspiration to humans and magicians alike.
Materials you will need: glass bottles of various shapes and sizes, various household craft supplies, clear glue, paint/dye, labels/paper
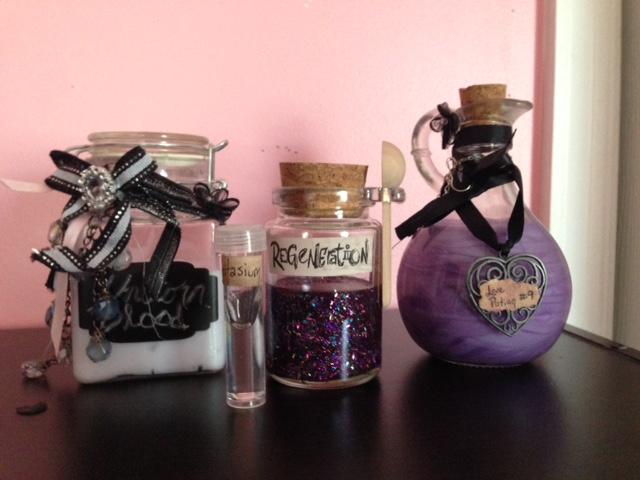
Step 1: Decorate the bottles
Take an item of your choice (beads, charms, yarn, string, chain) and hot glue them to the bottle.
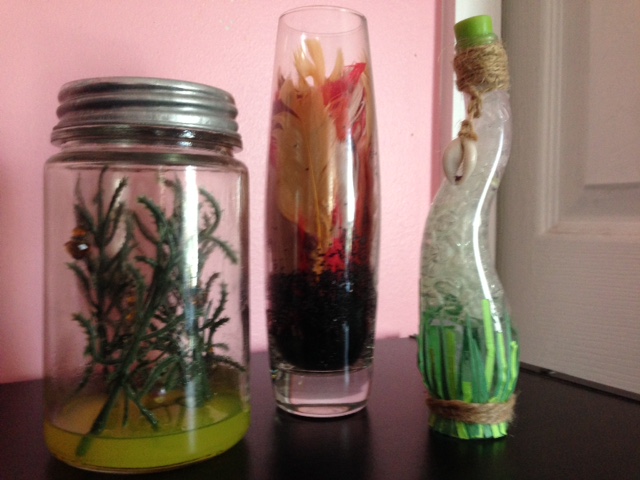
Step 2: Fill the bottles
Fill the bottles with interesting objects, liquids, or a combination of the two.
Solid ideas: fake plants, glitter, sponge, feathers, etc.
Liquid ideas: shampoo/soap, glitter glue, dyed glue
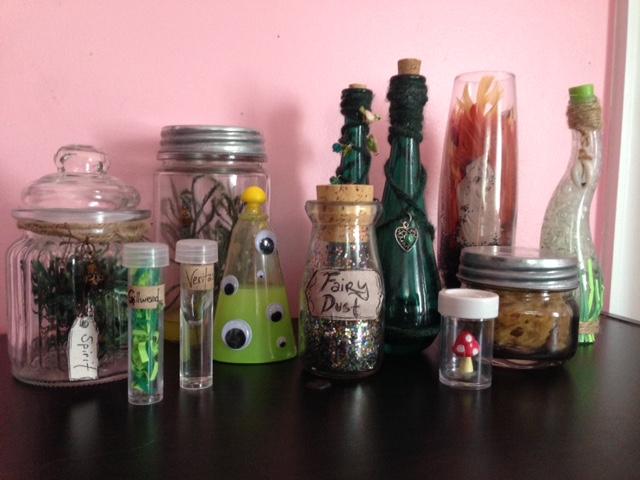
 Kister’s Koncoction
Combination ideas: plant fake plants in dyed glue, glitter glue with feathers, cut out bubbles from bubble wrap and water
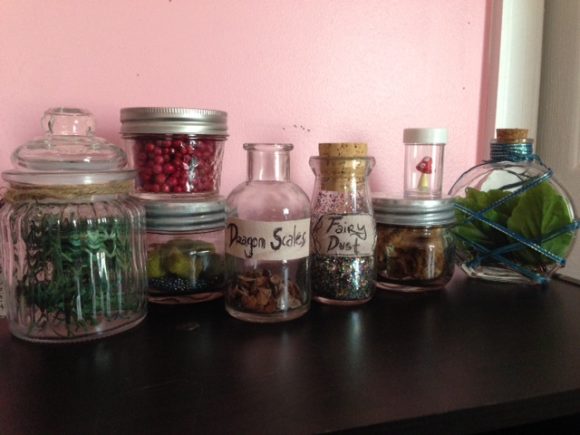
 Kister’s Koncoction
Step 3: Add labels as desired.
Step 4: display proudly and enjoy!
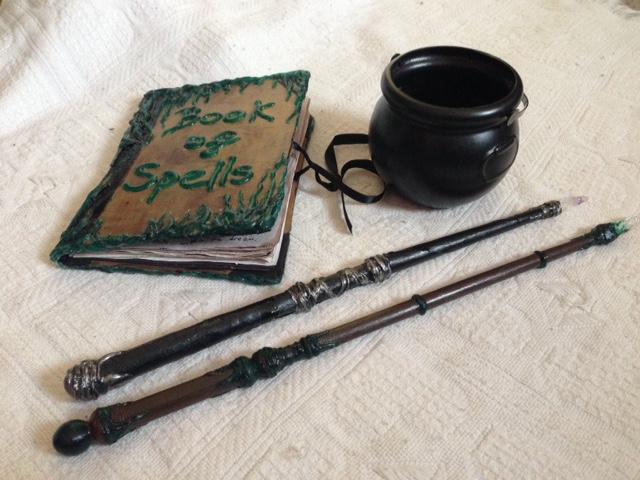
Ready to cast some spells? This fun DIY allows you to bring out your immortal side.
There is no better time to create a customizable wand for casting spells. In four easy steps, wands can be created quickly and cheap. All that is needed is paper, hot glue, paint, and additional items for decoration.
Step 1: roll a corner of paper towards other corner in such a way that one end is slightly narrower than the other, as shown. Cut excess paper as needed. Hot glue edge and carefully roll into place (caution: hot glue is hot)

Step 2: carefully stuff the wand with newspaper or crumbled up paper to give it structure
Step 3: hot glue any accessories in place (example: crystal at tip of wand). Use hot glue to create designs/ hand grip.
Step 4: Paint as desired. Use protective coating if needed.