A step-by-step guide on a DIY duct tape wallet

October 27, 2016
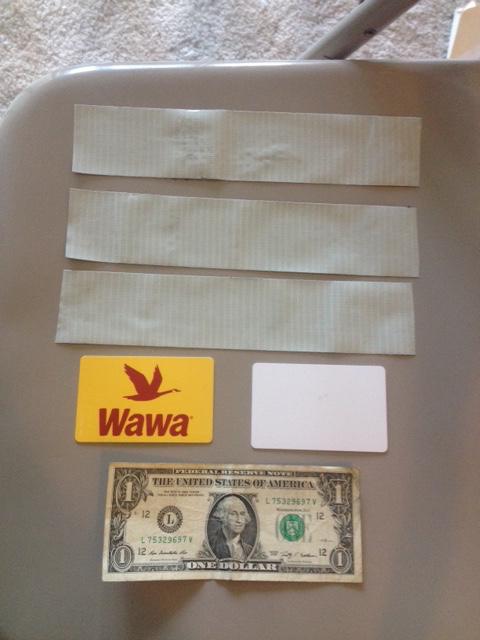
Wallets. Isn’t it absurd that people spend money on something to store the money they work to earn? If you’re interested in saving money and/or enjoy making things with your hands, constructing a wallet out of duct tape is not only cost effective, but also fun! All that you will need to make a duct tape wallet is duct tape, scissors, a card, a dollar bill to use as a size reference, and, if desired, transparent plastic to create a photo ID slot. This simple, step-by-step guide on how to create the most practical wallet out of duct tape is sure to fulfill the desire that your crafty heart yearns for.
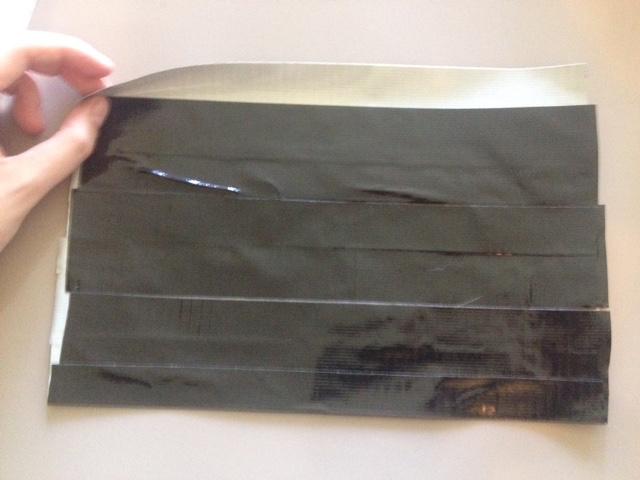
Step 1: Cut three strips of tape. The length of tape will determine the size of the wallet, so be sure to give some extra length as it will be trimmed later on. Place the three pieces sticky side up.
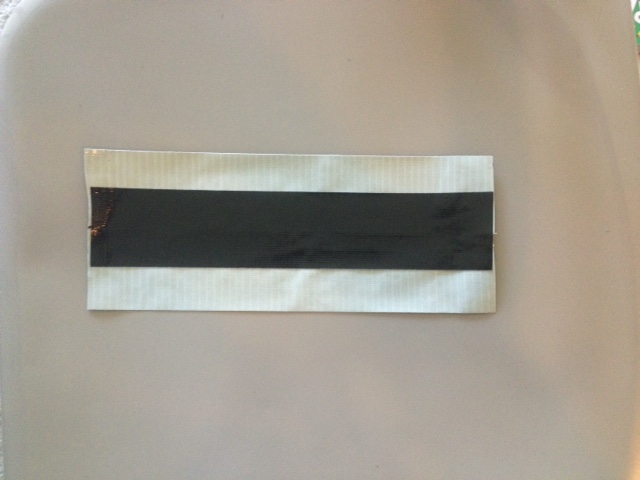
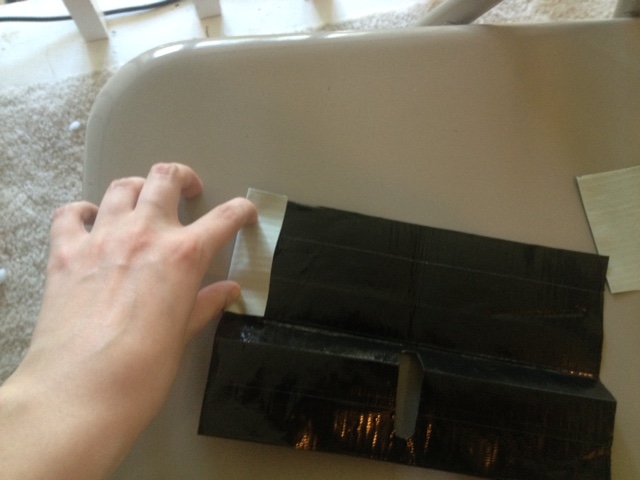
Step 2: With two sticky side up pieces placed next to each other in such a way that there is no gap in between the two, place one piece sticky side down directly over the other two sticky sides. Make sure the top piece is placed in such a way that it is equally on each piece of the bottom two pieces.
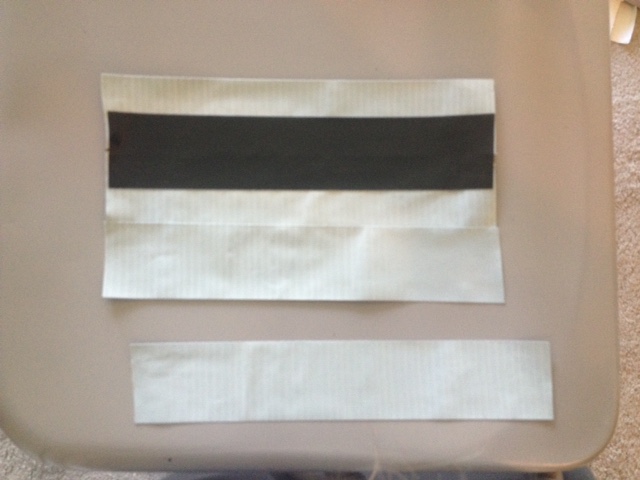
Step 3: Cut 2 more pieces of tape. Place one piece next to an existing sticky side up piece, and place the other over top as shown below.
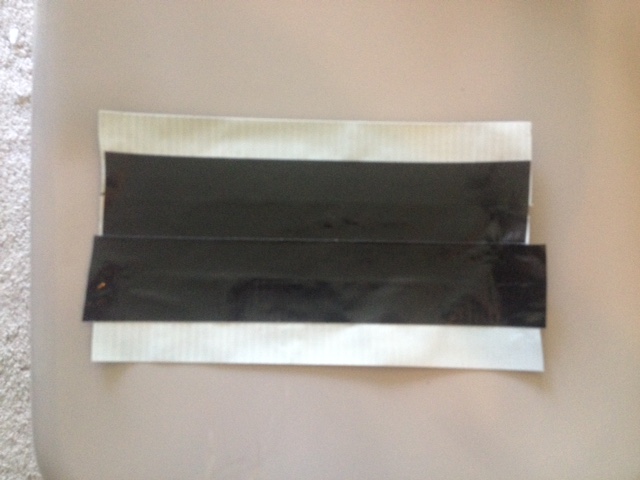
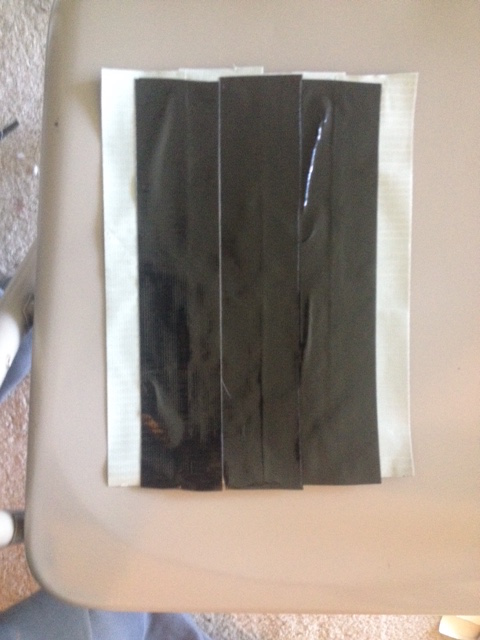
Step 4: Repeat on the other side.
Step 5: Fold the sticky edges over.
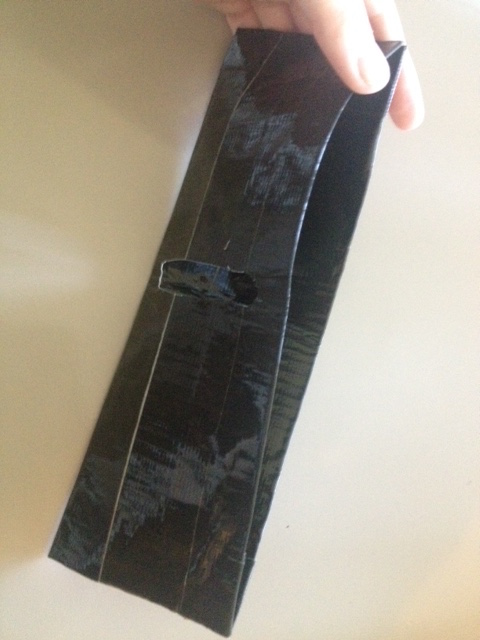
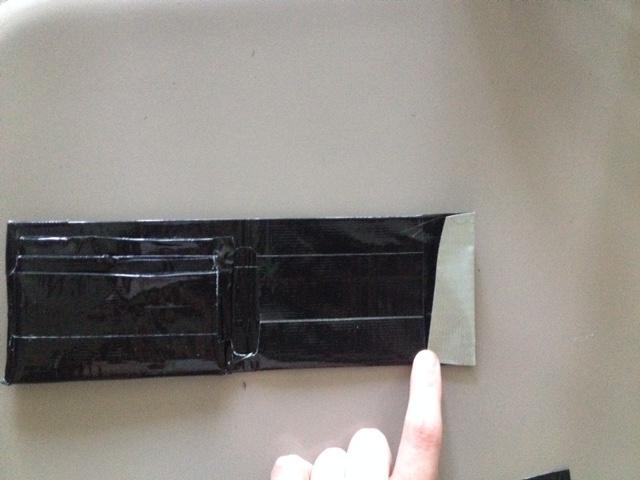
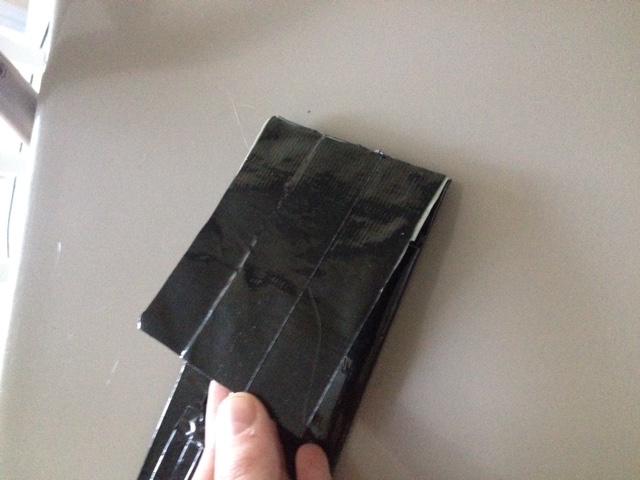
Step 6: Fold hotdog style and then hamburger style. Trim raw edges to desirable size.
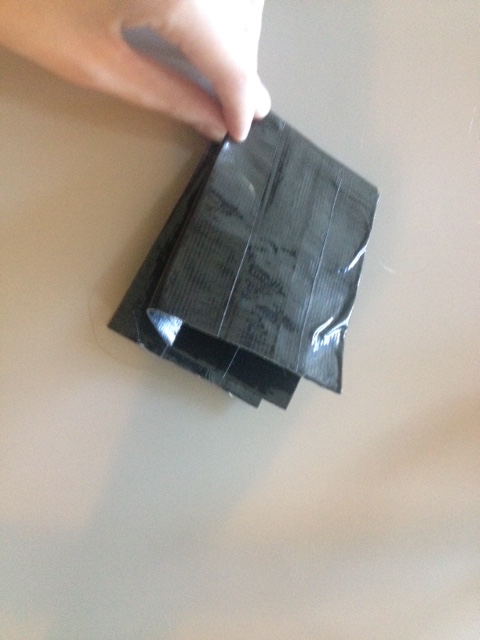
Optional: To make the wallet fold easier, cut an oval into the middle of the inside, as shown.
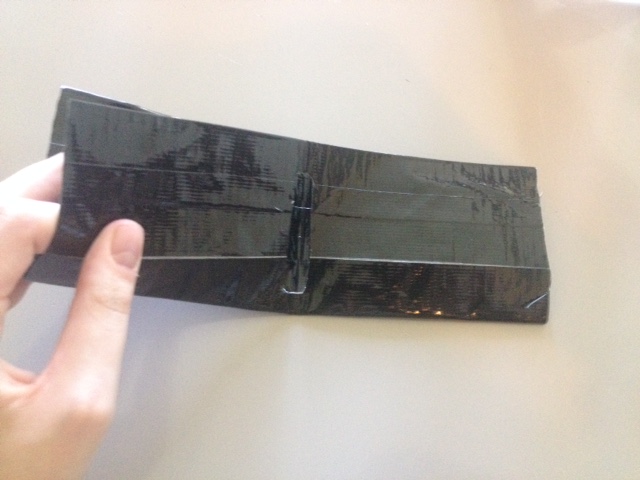
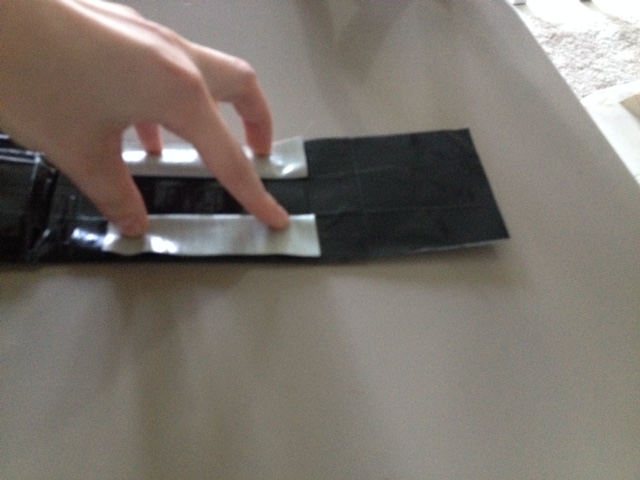
Step 7: Cut two pieces of tape the same length as edges.
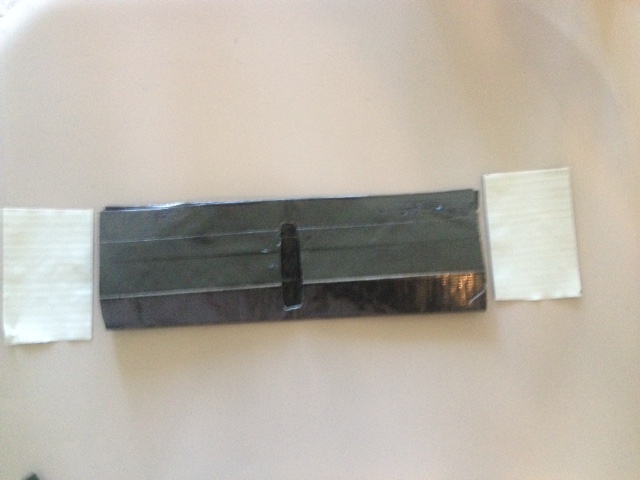
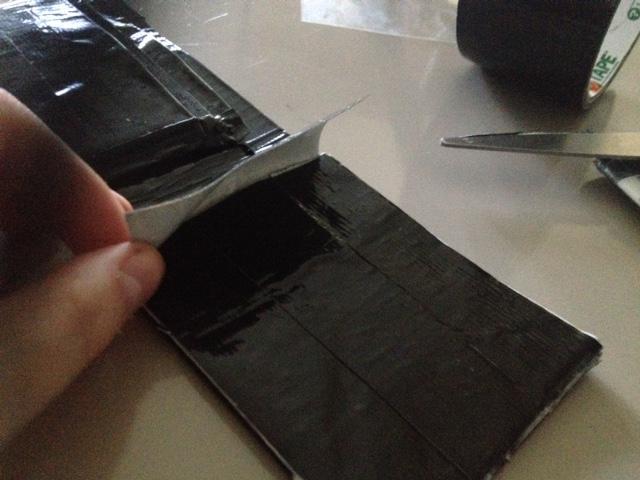
Step 8: Open wallet. Fold a piece of tape in half, non sticky sides together. Align with edge as shown. Fold wallet back in place, making sure that the sticky side of the tape stays flat. Repeat on other side.
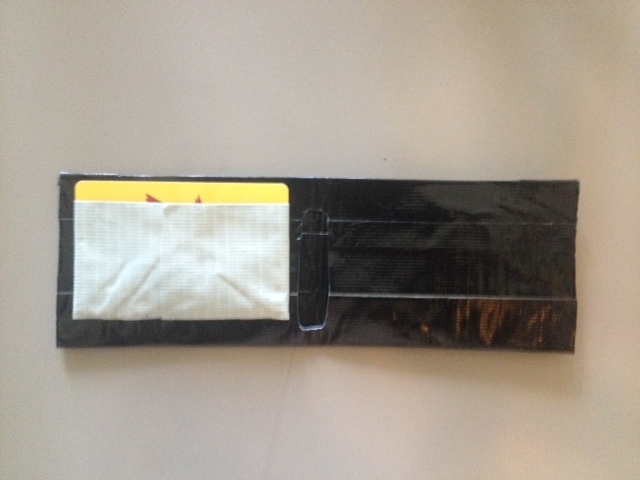
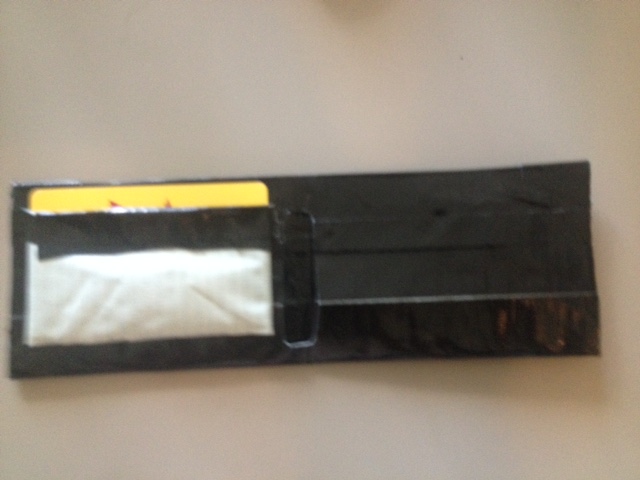
Step 9: Pockets. One type of pocket faces up (holds cards), while the other faces sideways (can show ID) These can be placed as desired.
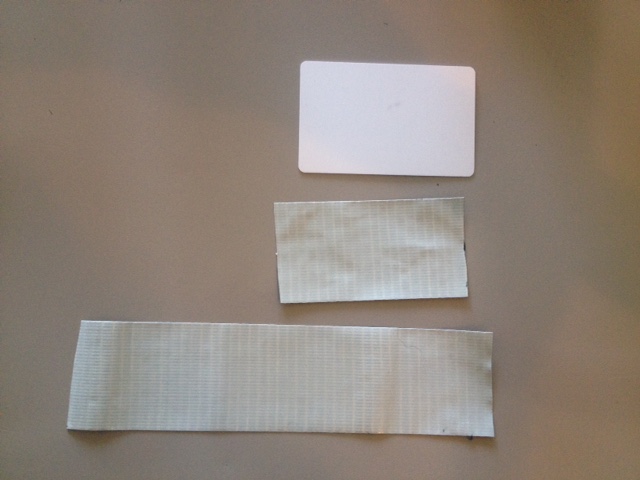
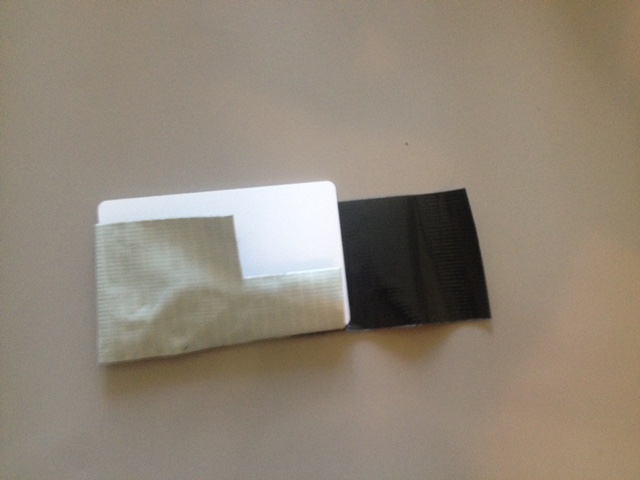
To make pockets facing up: Cut 2 pieces of tape: one slightly longer than the length of the bottom of the card and one that can wrap around the card.
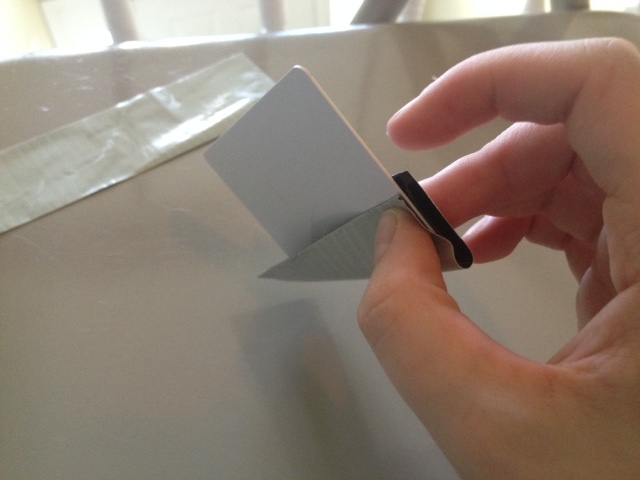
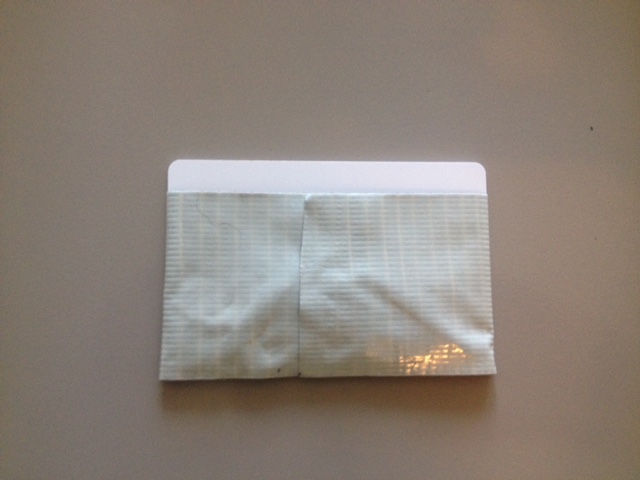
Fold piece of tape over the bottom edge of card, sticky sides facing out. Keep these in place. Carefully wrap the other piece of tape around the card, being sure to align bottom edges, as shown.
Place on desired spot on card. Take a small stip of tape and tape along the top, being sure the tape extends from the pocket to the wallet. fold a piece of tape over the opening as shown. To finish, cover the rest of the sticky side up tape completely. To overlap more pockets, trim the tape being folded over in half.
Repeat process as desired.
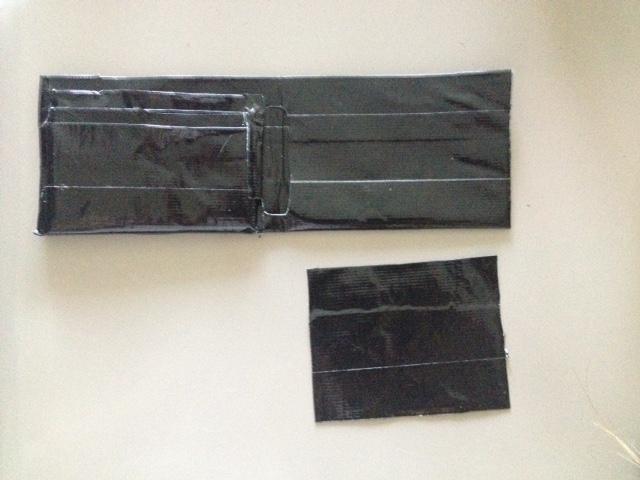
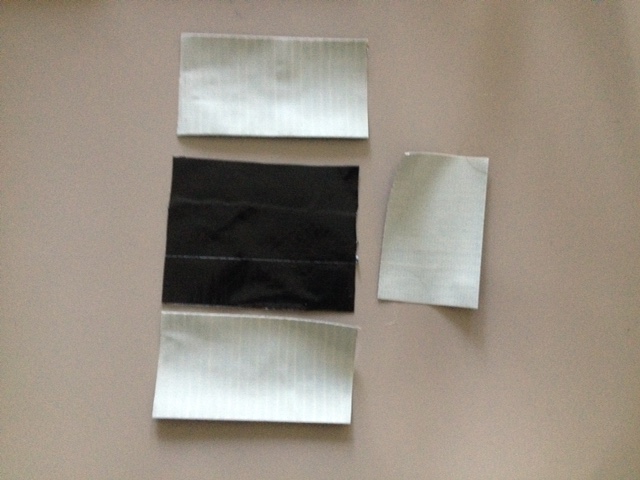
To make pockets facing sideways: Cut two pieces of tape. The length of the tape will determine the length of the pocket. Place sticky sides of tap together, trimming as needed
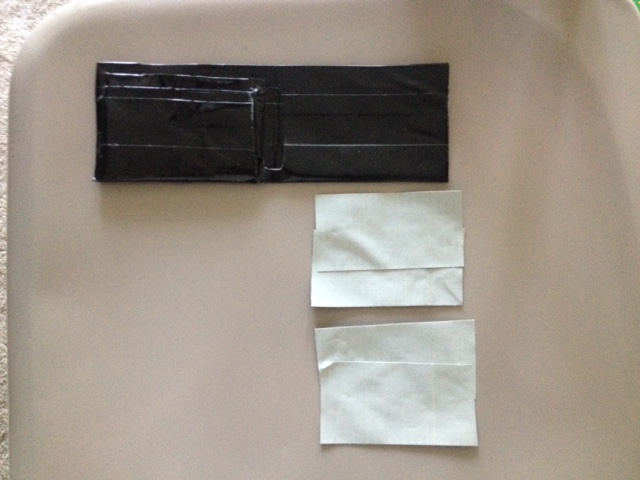
Cut 3 lengths of tape in accordance to lengths to lengths of pocket, as shown.
Fold tape in half, non sticky sides together. Align tape with edge of wallet. Place pocket on top, and be sure that the sticky sided tape stays flat.
Repeat process for lengthwise edges. Fold a piece of tape over the opening of the pocket to finish raw edge.
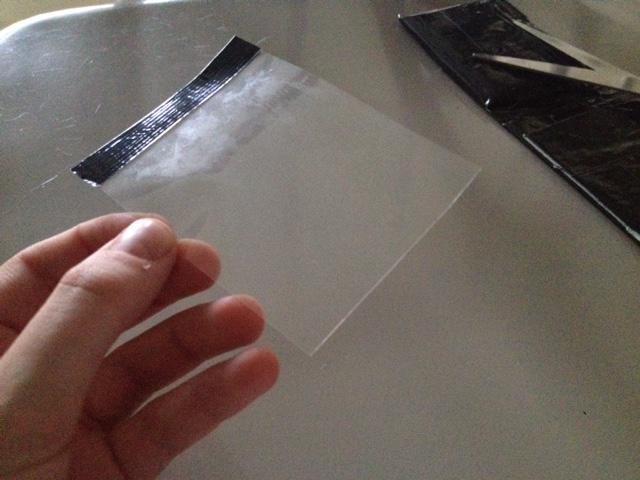
For ID: Cut a piece of transparent plastic. Fold tape over opening edge.
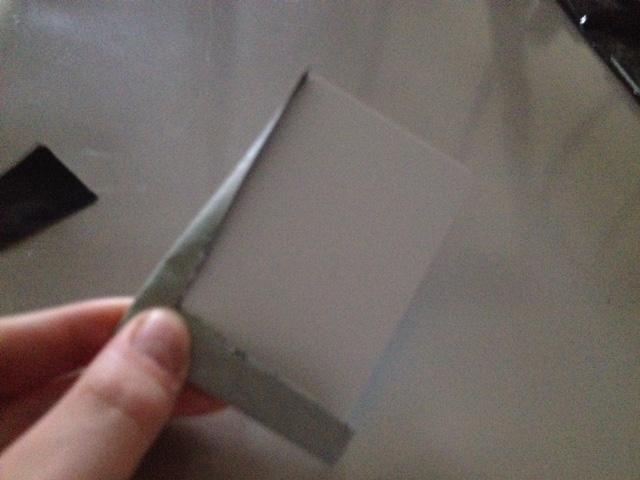
Fold pieces of tape over other edges as shown. (Leave top finished edge, not shown in picture, alone).
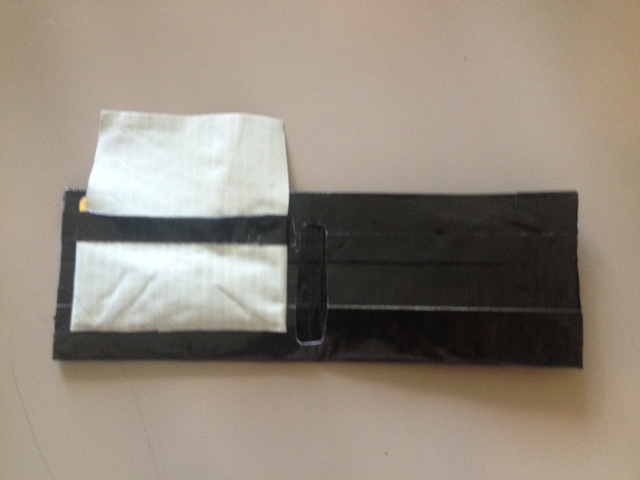
Place onto wallet, aligning with side opening pocket. Trim as necessary.
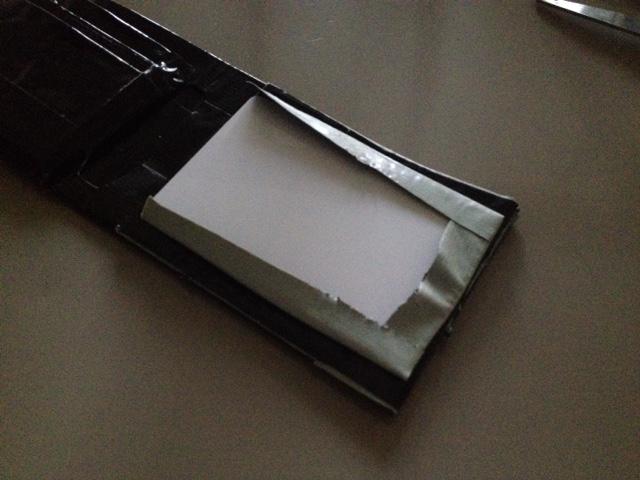
Place plastic on top.
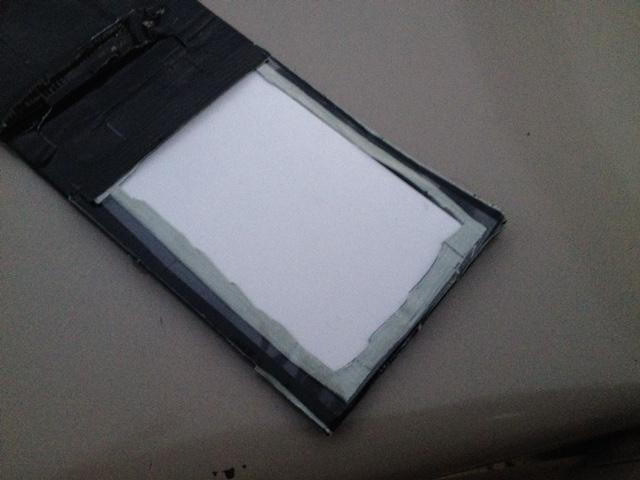
Fold tape over edges (place on back of wallet and fold over to inside), carefully covering the gray area. Be careful not to tape the opening of the wallet shut.
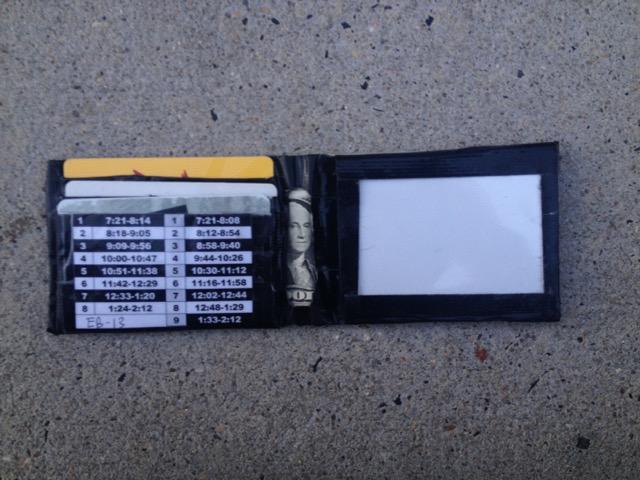
Final step: Add your personal belongings, and enjoy!