A Hunter Allan special effects Halloween makeup tutorial
Are you tired of dressing up in the same, simple Halloween costume every year? With this special effects Halloween makeup tutorial, Hunter Allan brings to you not only a creative, but also realistic, way to get into the Halloween spirit. Take a look to get started:
Step 1: In many ways, this step is a no-brainer for most people. However, it can still be somewhat overlooked. Before even starting, make sure that you have all the things you are going to use spread out on a table next to you. You don’t want to be scrambling for pieces. Also, for more ease of use, it’s a good idea to dedicate every bit of makeup to one large specific box. Personally, we use a fishing lockbox although any other sizeable bin would work.
Also, a few things you should have before even starting is Liquid Latex and Pros-aide. These are the “glues” you’ll be using to apply the prosthetic to your skin; however, some medical tape and Band-Aids are a good idea as well, just in case the prosthetic isn’t cooperating. After all, some of the heavier prosthetics can be a bit more stubborn when with sticking to your body.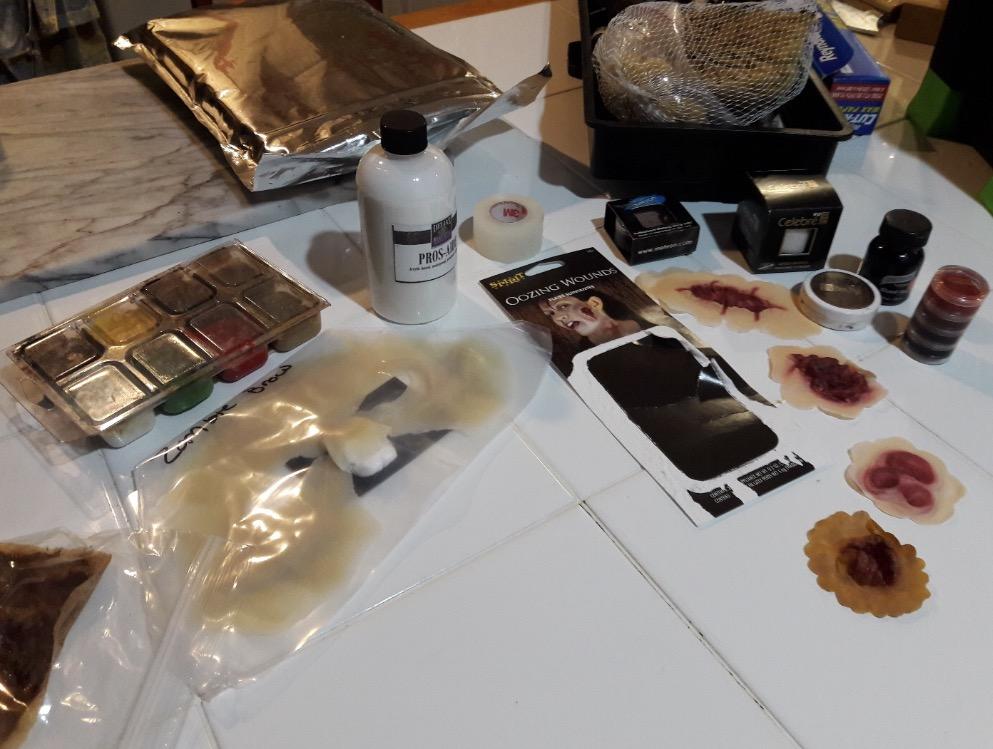
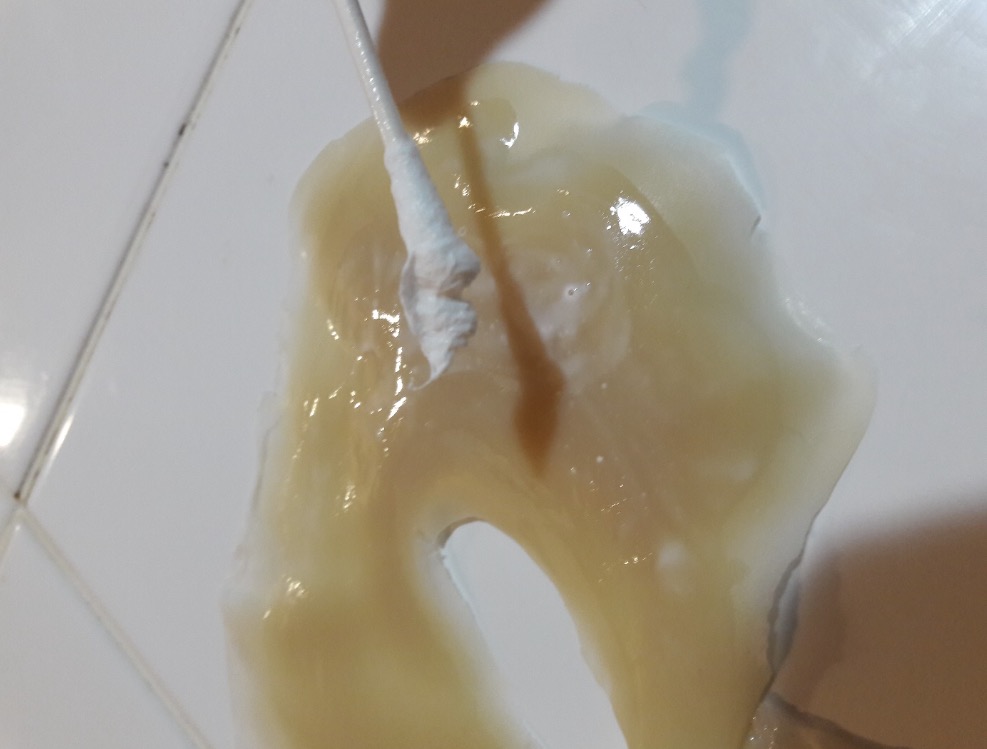
Step 2: Now you have all the makeup you’ll need, a good prosthetic, and Liquid Latex, as well as Pros-Aide. The second step is to start putting a few of those together. Now hold on, don’t just go adding makeup to the prosthetic willy-nilly; that step comes later. For now, just coat the side that will sticking to your skin with your “glue,” which at least in my case was Pros-Aide. (Artist note: Liquid Latex tends to be better at hiding edges rather than working solely as an adhesive, though it can still help hold everything together.) After you have the Pros-Aide on one side of the prosthetic, go ahead and start covering your skin with the stuff.
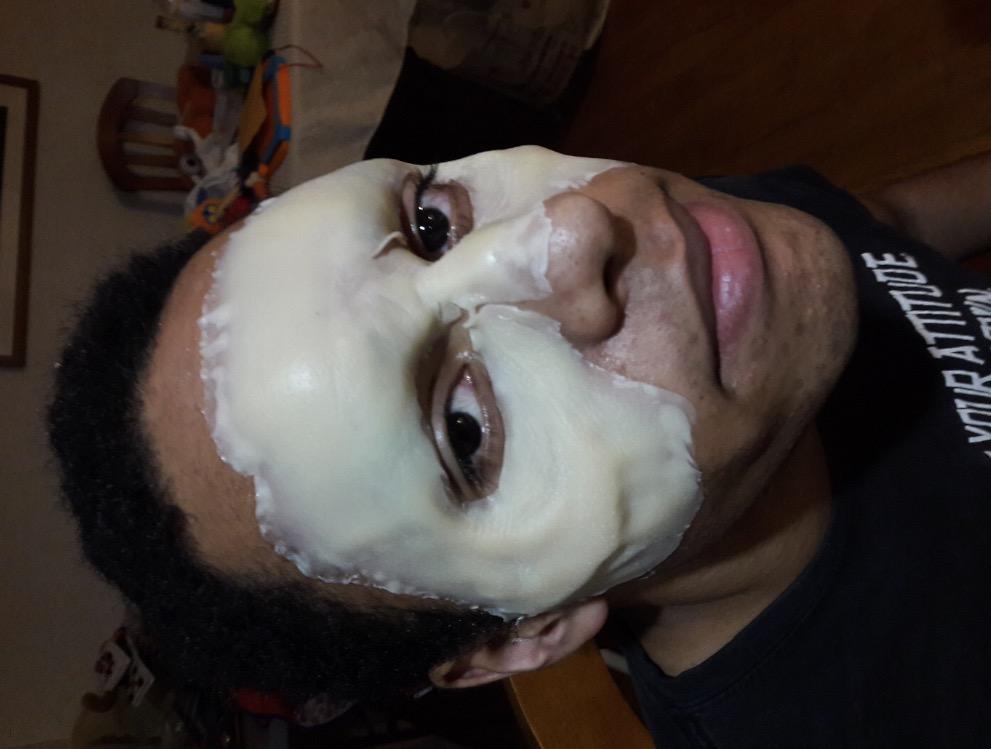
Yes, this an actual step, and as you can see I’m still a bit tired at this stage. It was 4:00 am after all. Anyway, the next part should be pretty simple; attach the prosthetic to your skin and wait for it to dry a bit before continuing. (Artist note: The mask I used this past Halloween was a gelatin mixture that really griped the muscles of my face for a long time. This will not be case with most prosthetics, as they will usually start to peel off within a few hours)
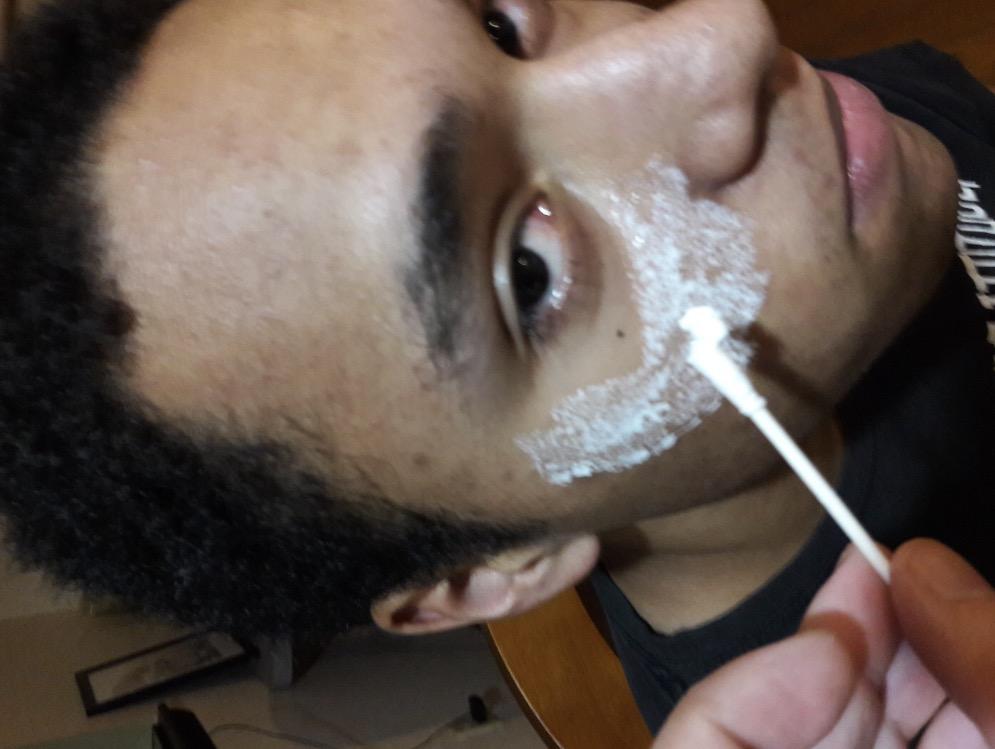
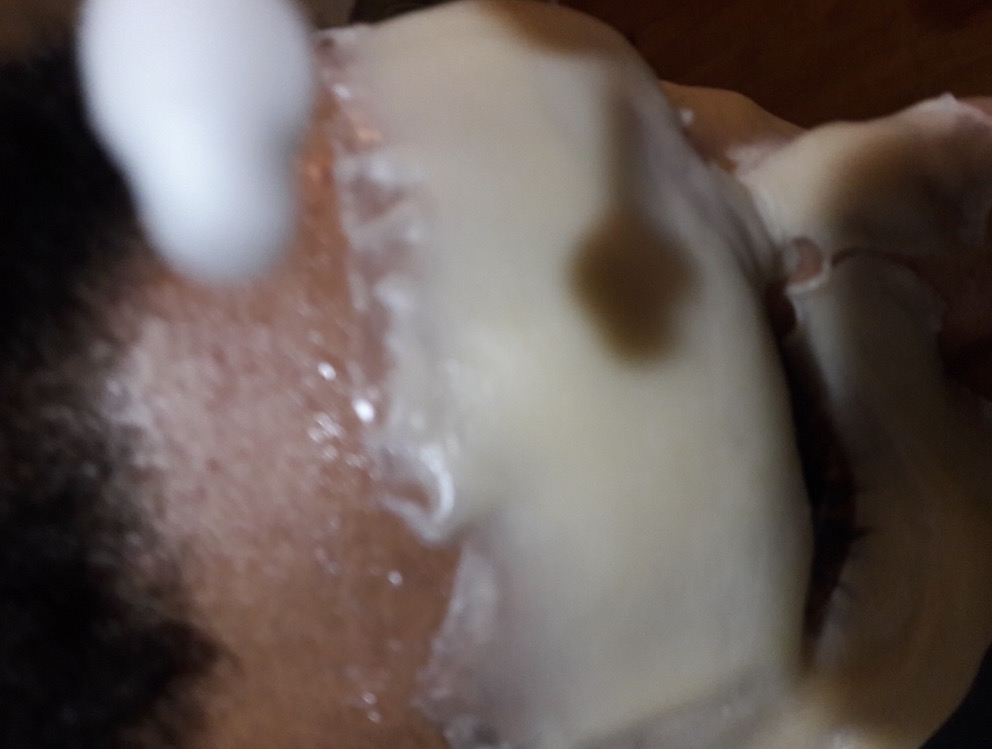
Step 3: Well now you have the prosthetic stuck happily against your skin, and don’t you look beautiful! At this point, take the Liquid Latex and use a q-tip to start dabbing it around the edges of the piece. It’s a good idea to cover the entire parameter of it to be on the safe side. Personally, since we used a gelatin mask, we also add a gelatin blender, which came with the mask, before we added on Liquid Latex. (Artist note: To anyone who is interested in purchasing the mask themselves, it is manufactured by a company called Nimba Creations.) Anyway, we still got the same ending as usual. The whole idea behind the Liquid Latex is to have no visible edges and ensure that the prosthetic is as smooth as possible while against your skin.
Step 4: After that’s done and dried, you are finally ready to start using the makeup. Before starting, you absolutely must have a makeup base that matches your skin tone as much as possible. If you don’t have this, the entire job could fall through. The color you make the prosthetic is a very important part and not to be taken lightly. Still, even the best makeup artists cannot get a base that perfectly matches anyone’s skin. Chances are you’re going to have to shade your uncovered skin a bit to match with the base. (Artist note: At least for the undead, you can cover a few noticeable edges of the prosthetic with blood to make it look like a wound.) And speaking of shading, every creature has a different technique to capture them. For zombies at least, they are generally dirty and have very dark eye sockets. Remember that if you ever try this at home.
Step 5: I’ll move onto the neck piece now, as that had a slightly different method to apply compared to the mask simply because it was thick rubber. (Artist note: Thick rubber has a lot of longevity and can be worn multiple times, whereas something as thin as gelatin will rip apart with so much it ease it’s not even worth trying to save.) Since rubber is thick and heavy, we had to use surgical tape to keep it attached to my neck, and then ran around the edges with a bit of Liquid Latex. For some people who managed to see me during the day, you could see that I tried not to move my head. This is because I would have pulled the neck piece loose if I did. Surgical tape is quite a helpful tool, but don’t expect it to work miracles.
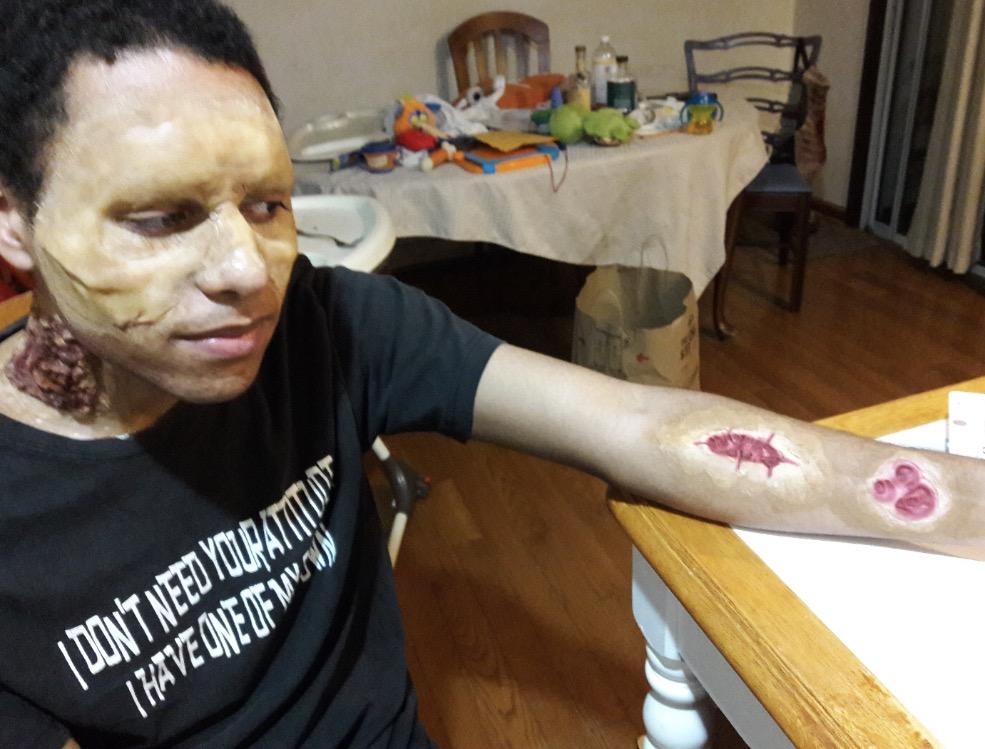
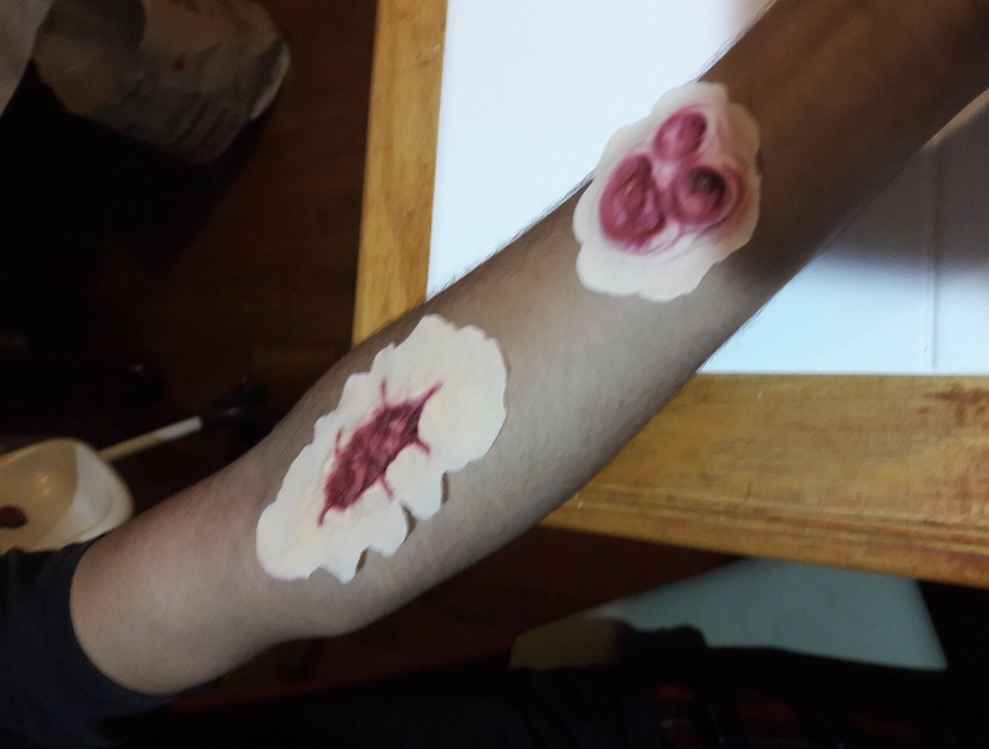
The little wounds on my arms were the simplest to do. I used Pros-Aide to glue them down, followed by Liquid Latex to mask the edges and then colored them so that they blended in. I didn’t really spend much time on this step, as the wounds would mostly be covered by sleeves.
Step 6: Well now you should have everything properly glued on your skin and colored in a way you like. The last and final step is the larger costume with which you will be adding this to, which I understand most people have general idea of how to do so. Still, I’m including the step anyway because every year I see zombies go out on Halloween with almost clean clothes. As said before, zombies are dirty and there is no better way to show that than by wearing dirty clothes. And no, I don’t mean just not washing them. Don’t be shy to get the clothes really messed up. The suit I wore on Monday was soaked in the rain, left outside for a few hours, and spray painted here and there. (Artist note: don’t worry, we Febreezed it up quite a bit) As a zombie, or any character that has been outside for a long time, your outfit should reflect that.

Well, now you’re all done. Most of these techniques can be applied to a very wide range of other special effects prosthetics. “How do I get it off?” I hear you ask. Simple, just rip it off. If you want to save some of the pieces, then just be careful, though don’t try to save gelatin. It won’t work.
In simple terms, for most of it there is no trick to taking it off. While warm water and soap can help get Liquid Latex off, that’s not the same for gelatin.